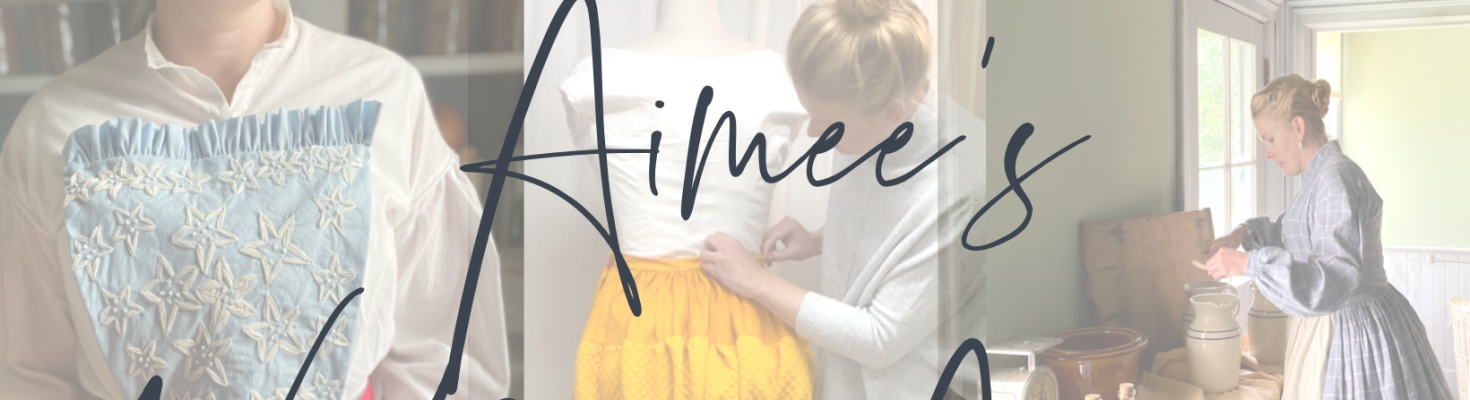
“Wish I could figure out how to design a gown like that!”
Well, I’ve been listening and have decided to share the process I go through when I design a historical gown. From original inspiration to my next steps, you will learn about what books and patterns I go to first for help along the way!
Let’s get going!
Have another topic you would like me to chat about? Dying to know some of my construction or designing secrets?
Leave a comment below! 🙂
PS: The book I was referring to is Fashion: The Collection from the Kyoto Fashion Institute. 🙂
As you may have noticed, my blog has undergone a few cosmetic changes. Nothing to worry about….just trying to streamline and revamp the overall look with the aim of expanding topics and tutorials! I am slowly starting to get back into the blogging swing of things and have planned a few fun posts and videos to come out over the summer – as long as nap times stay consistent (you know #MOMLIFE!) More details and such will make their way over the next few weeks, but in the meantime, I hope you enjoy today’s post.
It is half way through June and I finally feel that summer is officially here! My gardens are overall doing well…although I have certainly fretted and fussed over my kitchen garden sprouts. While I may not be able to spend hour upon hour in the garden, I can definitely squeeze in a solid twenty minutes after my daughter goes to bed. And nothing feels more therapeutic then slipping into garden shoes and my garden apron. Although based on my neighbors reactions and gentle ribbing, it feels as though I am the only person in the world who wears an apron to garden. I suppose I may be the minority, but it sure beats having to change into “work” clothes which can mean a loss of precious gardening minutes. So I proudly don my apron, step into my small yet efficiently designed garden, and weed away!
Are you looking for a garden apron? I’ve rounded up a few of my favorites!
My goodness but it has been a long time since I’ve last posted. Please know that this is no indication that I am planning on closing or shutting down my blog….not at all! It is simply a reflection of going with the flow of life and my creative juices. But here on this slightly rainy and grey Saturday, I felt like writing and sharing a little of what I am into and planning this spring!
So lets start with some sewing…my favorite thing to talk about! 🙂 I have discovered a secret love of bustle gowns and completed my first just a few months ago! I most definitely feel a little late to the 1880’s party, but oh boy am I here to stay!! I relied heavily on Prior Attire’s Victorian Dressmaking book (link HERE) and have to say I am very pleased with my first attempt.
There comes a time when all business sewing needs to take a pause, and personal sewing needs to take over.
You see, I don’t often sew for myself.
I think the last time I created a gown just for me was at least a year ago. Most of the time, whenever I sew it is either for a client or to sell on my shop. But with a little more free time on my hands (thanks to longer naps by my little one), I wanted to try something new and different. …something for me! 🙂
After thinking about what I wished to create, I decided on an outfit to wear at next year’s French and Indian War Reenactment…in July. The tricky part about making a gown to wear in the summer while it is still winter is the fear that I am going to sweat like crazy! More about that later!
So, as always, whenever I begin a brand new decade or project apart from the norm, I begin with an inspiration board. This is where I gather images of actual gowns, paintings, or pieces of a gown I want to try and incorporate. The problem with this particular gown is I wanted to include WAAAAY to many aspects and techniques, so I had to really cut down.
Here is the inspiration board of this particular project:
I think I have drained my current pool of patterns. I mean, I love many of them and will always use them…but, I’m am definitely feeling a little bored. Especially with my due date coming closer and closer, I am trying to stay occupied with sewing…it’s sort of working! 🙂
So yesterday, with the warm sun on my face, I spent a little time looking up some new and different patterns to try.
Here are a few of my favorites!!!
Links to the patterns are below each image!
I love the unique and various caps in this particular pattern. Especially the Round Eared Cap with double ruffle!!
I am sure anyone wearing this amazingly beautiful, pleated mantle would feel elegant and very summery! The only thing I’m not sure of is what fabric I would use…..
With a yardage requirement of 16 yards, this gown would definitely be a commitment, but I love all the ruffles and draping! I would also want to use a polka dot fabric just like the sample photo below!
The front draping on this 1930’s dress is amazing! I’m pretty sure I will have to redo it several times until it hangs just right, but its all in a day’s work! 🙂
Last Saturday, I had the extreme privilege of being allowed special access to photograph my gowns in and around the historic buildings belonging to the Buffalo Niagara Heritage Village. This museum not only features many wonderful exhibits for both young and old, but they also have twelve historical buildings that have been painstakingly and lovingly returned to historical accuracy. A truly wonderful place for the whole family where you can take a step back in time!
Here are a few outside pictures of the buildings apart of this wonderful village!
Aren’t they stunning!? Sigh….
Anyways! This past Saturday, I loaded up a a variety of gowns, two great friends, and spent a fabulous afternoon enjoying the warm sunshine and all things historical!!
Enjoy!!
A big thank you to Buffalo Niagara Heritage Village for opening up their doors! We all had a great time and I think the buildings did too! 🙂
Many of these gowns are available for purchase on my Etsy Shop!
I love fashion spreads in magazines. I love seeing the looks, colors, styles, and accessories that are currently (or have been) in trend…no matter what the decade. And today’s spread is no exception!
Another thing that I absolutely adore about these early women’s magazines are how varied and detailed the topics are compared to today’s. You especially get that vibe when you read the descriptions of each outfit and accessory. It isn’t simply a list of the maker and price. Instead it is a lovely little blurb highlighting the main points of each item along with a wonderful description of color.
I hope you enjoy taking a little look back at not only fashion from the 1920’s, but also into the setup and work that went in to creating these wonderful magazine pieces! 🙂
Fashions Edited by Helen Kous
Good Housekeeping, April, 1922 Volume 74, Number 4
I have not always used nor understood the point of piping. I didn’t get it. I didn’t know when to use it, and I was pretty sure it was a waste of my time.
And then, I got a bit better at my sewing. So I stopped using excuses as to why I didn’t pipe and finally acknowledged that it was because I didn’t know how to use it at all.
Piping, in this context, refers to a 1 1/2″-2″ wide strip of fabric, cut on the bias, which has then been folded in half with a piece of cording place in between. A tight stitch along the side of the cording creates a smooth finish. This piping is then used in various places on bodices, and occasionally skirts, to add strength, texture, and contrast. The tricky part is you have to keep your stitches tight. I mean tight. You just want to see the cording peeping through in a neat and tidy fashion. And this is where I would become frustrated and give up…I just couldn’t seem to make my stitches tight enough.
So piping was left on the back burner for several years, until one day when I decided to try it again.
I took a deep breath, stitched as close as as could to the cording and would you believe it!!! – It came out perfectly!! In fact, it looked so great, I couldn’t believe I hadn’t been using this technique all along. So now I’m back on the piping train and loving it! And I thought nothing would do but to create a post celebrating this wonderful little technique.
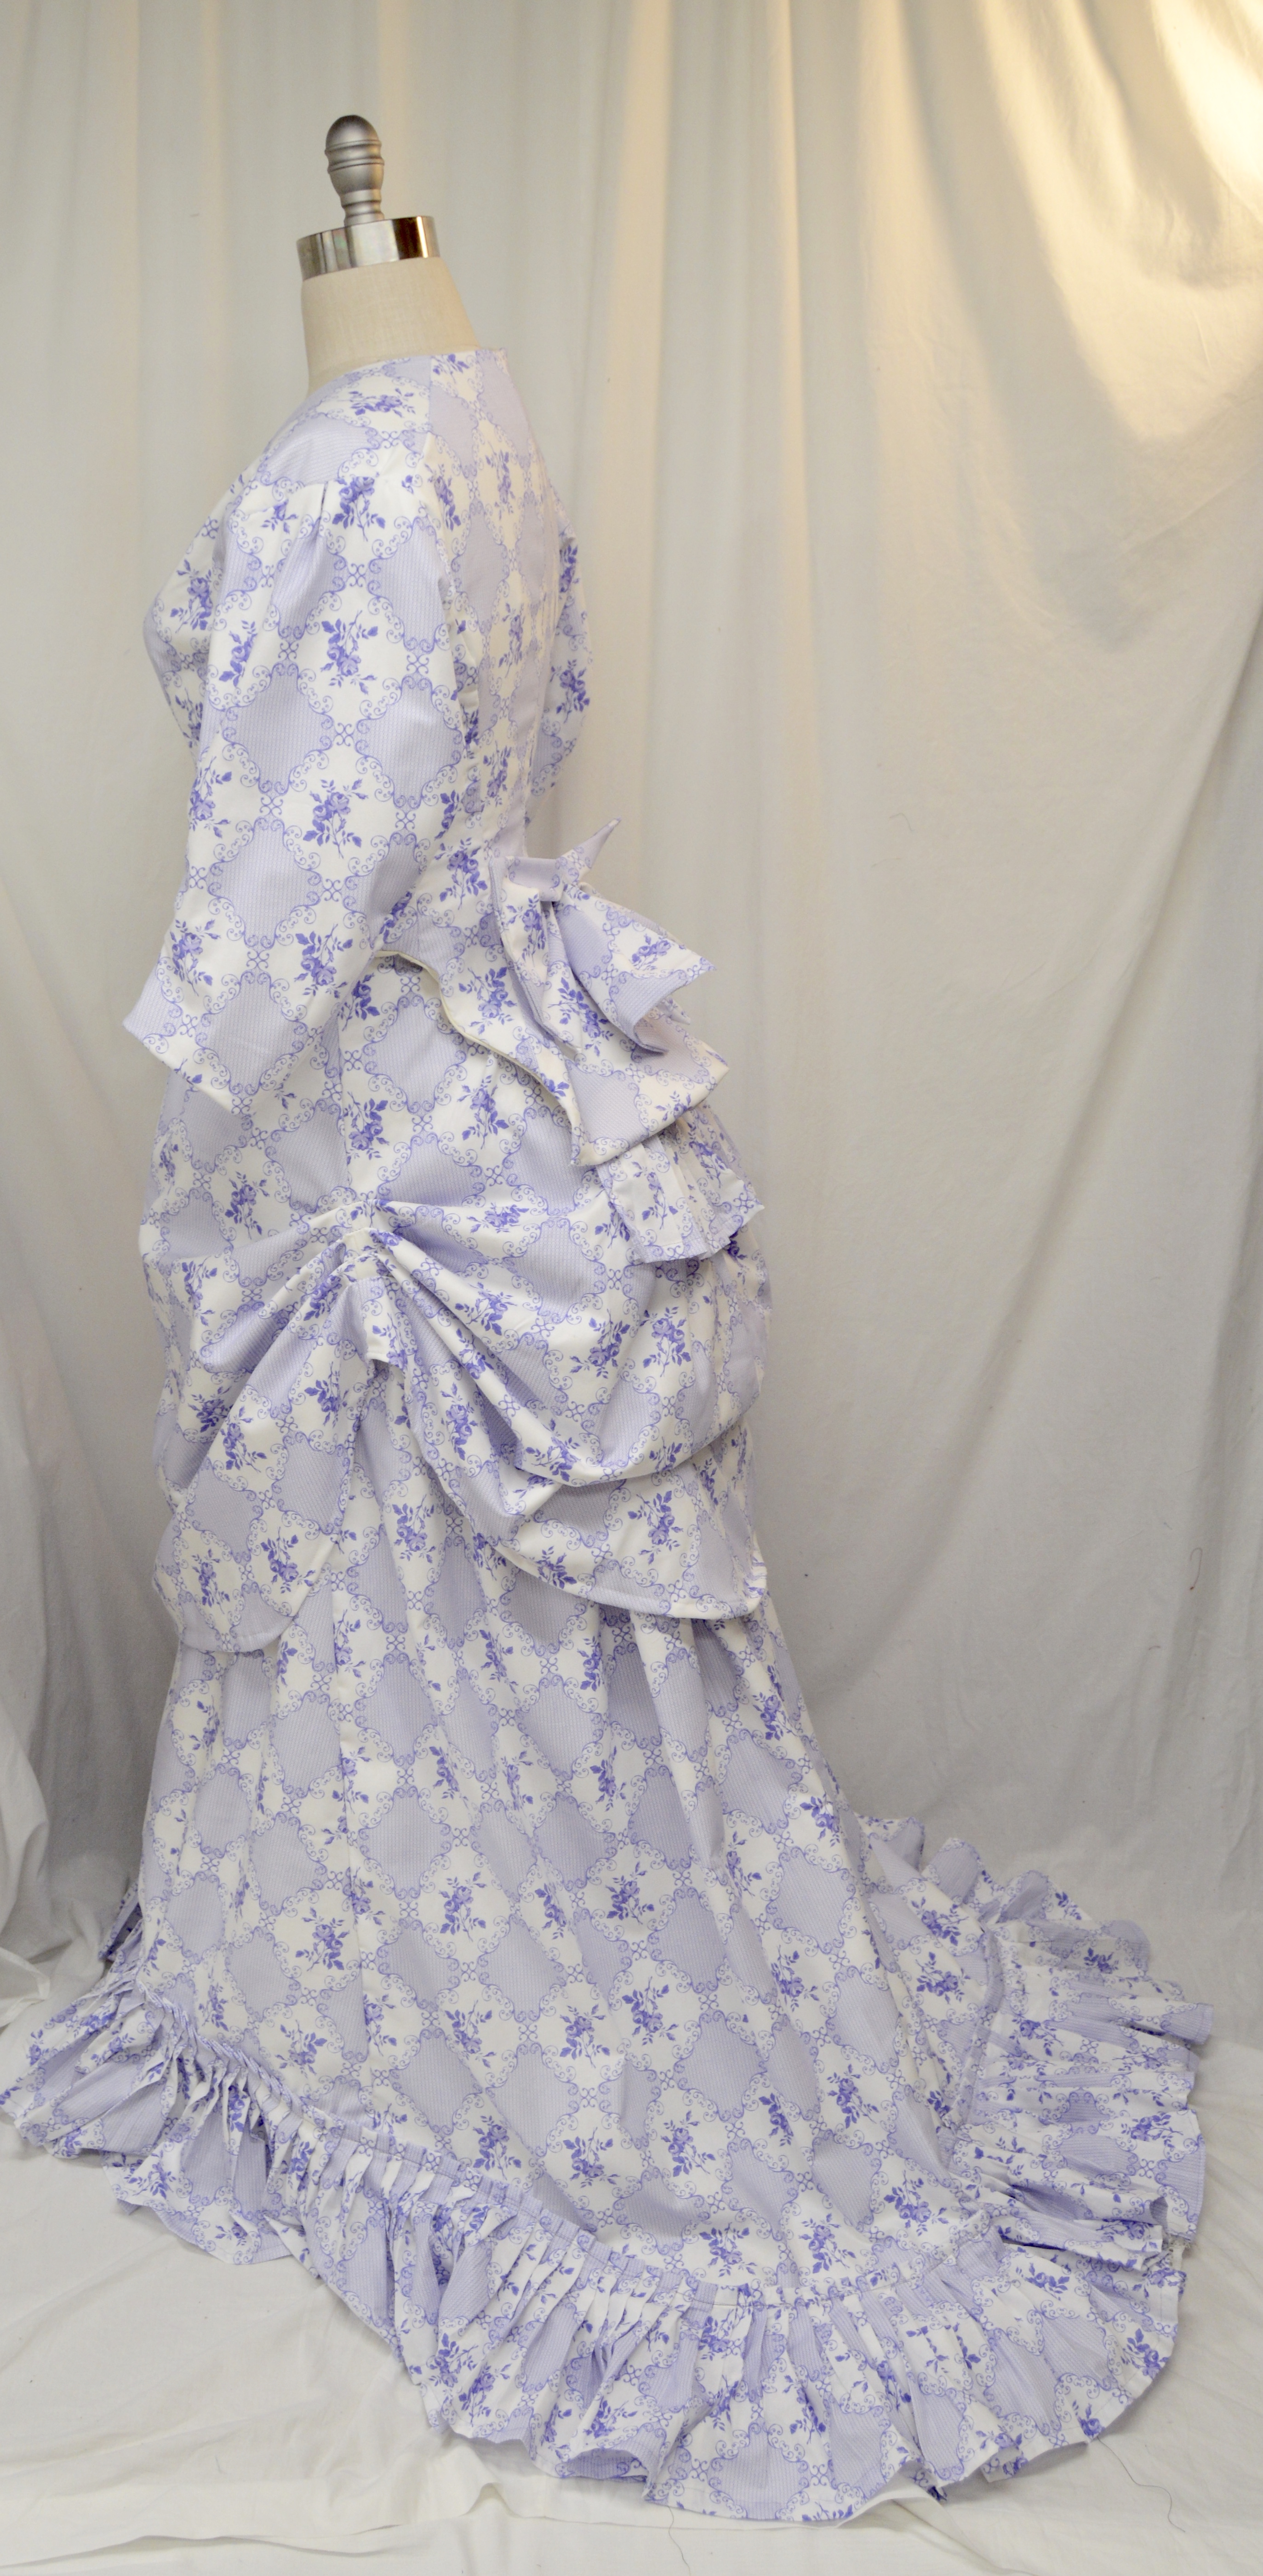
My return to piping on a 1860’s Garibaldi blouse.
Piping is most commonly found around the armsyce, or armhole, of bodices from the early 20th century and back. Here is an example of an 1840’s gown from the Tasha Tudor collection:
Notice the cord like piece between the sleeve gathers and the shoulder? That’s piping! While most commonly used in the same fabric as the gown itself, one can sometimes use coordinating fabric to add a bit of pop!
Piping can also be used in between bodice seams. Notice the very small piping along the back seams of this 1860’s bodice as well as the 1810’s Pelisse.
Piping can also be used to add details to sleeves…
notice the sleeve of this Regency jacket. The piping adds interest.
The same can be said for this 1860’s sleeve where the bands have piped edges.
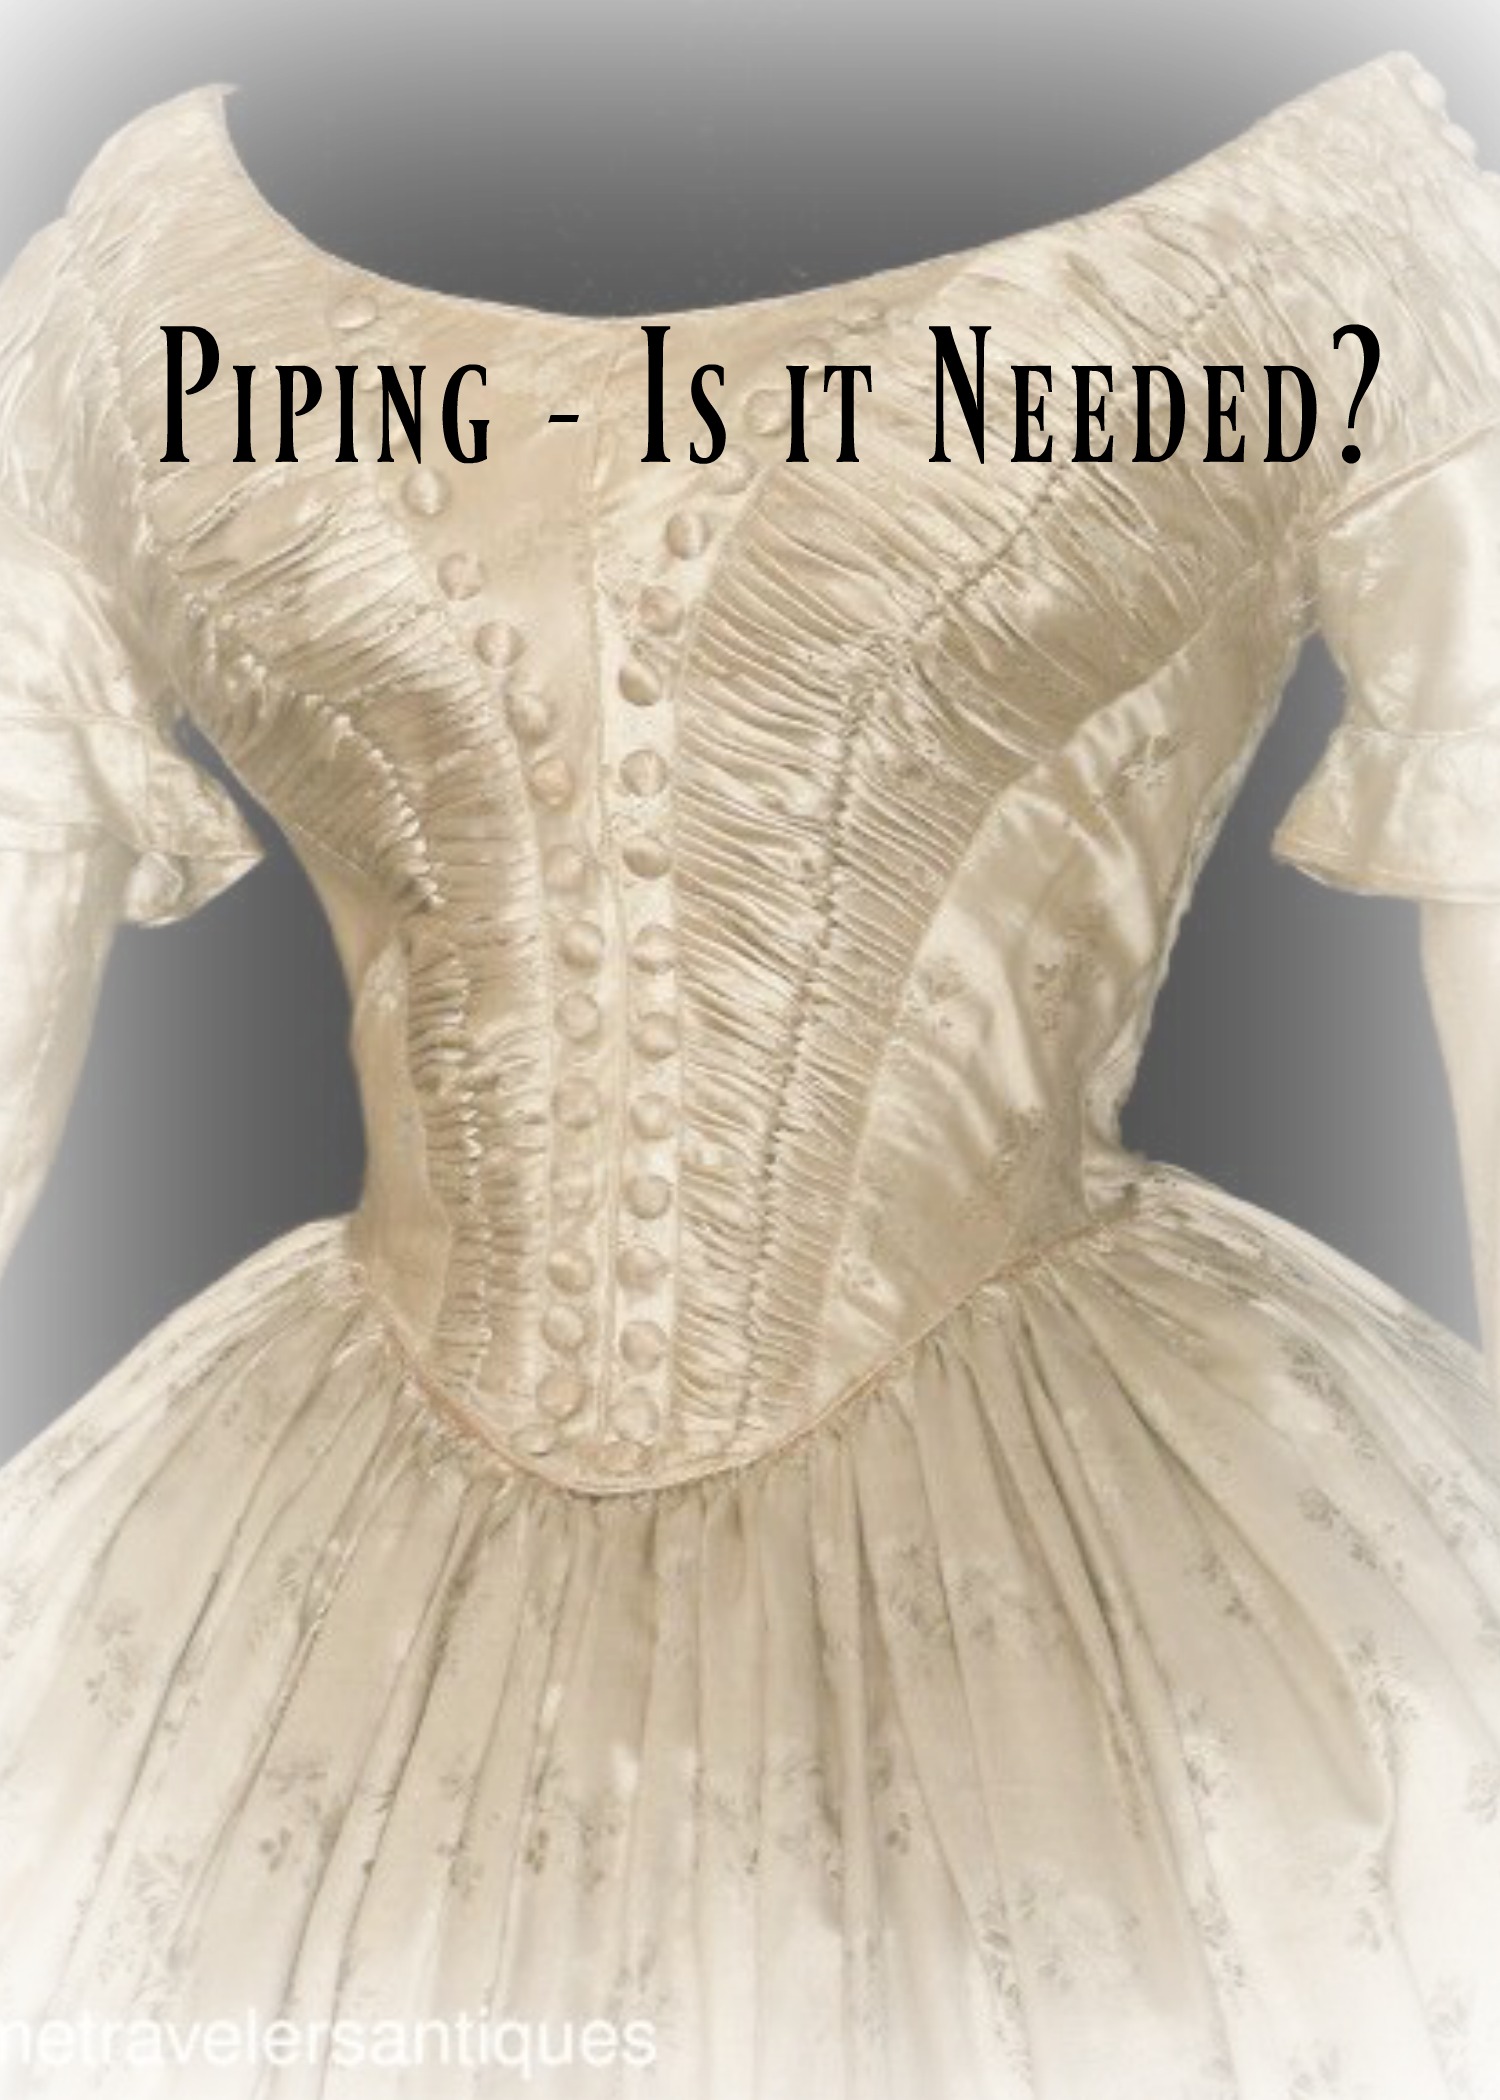
And let’s not forget the rather advanced skill of putting piping around the edges of bodices to keep a smooth and clean finish!
This 1840’s gold gown has some wonderful examples:
If you have never tried piping, or haven’t in a long time, I highly recommend bringing back this very fun and relatively easy technique!!