1930’s One Hour Summer Top

1930's top

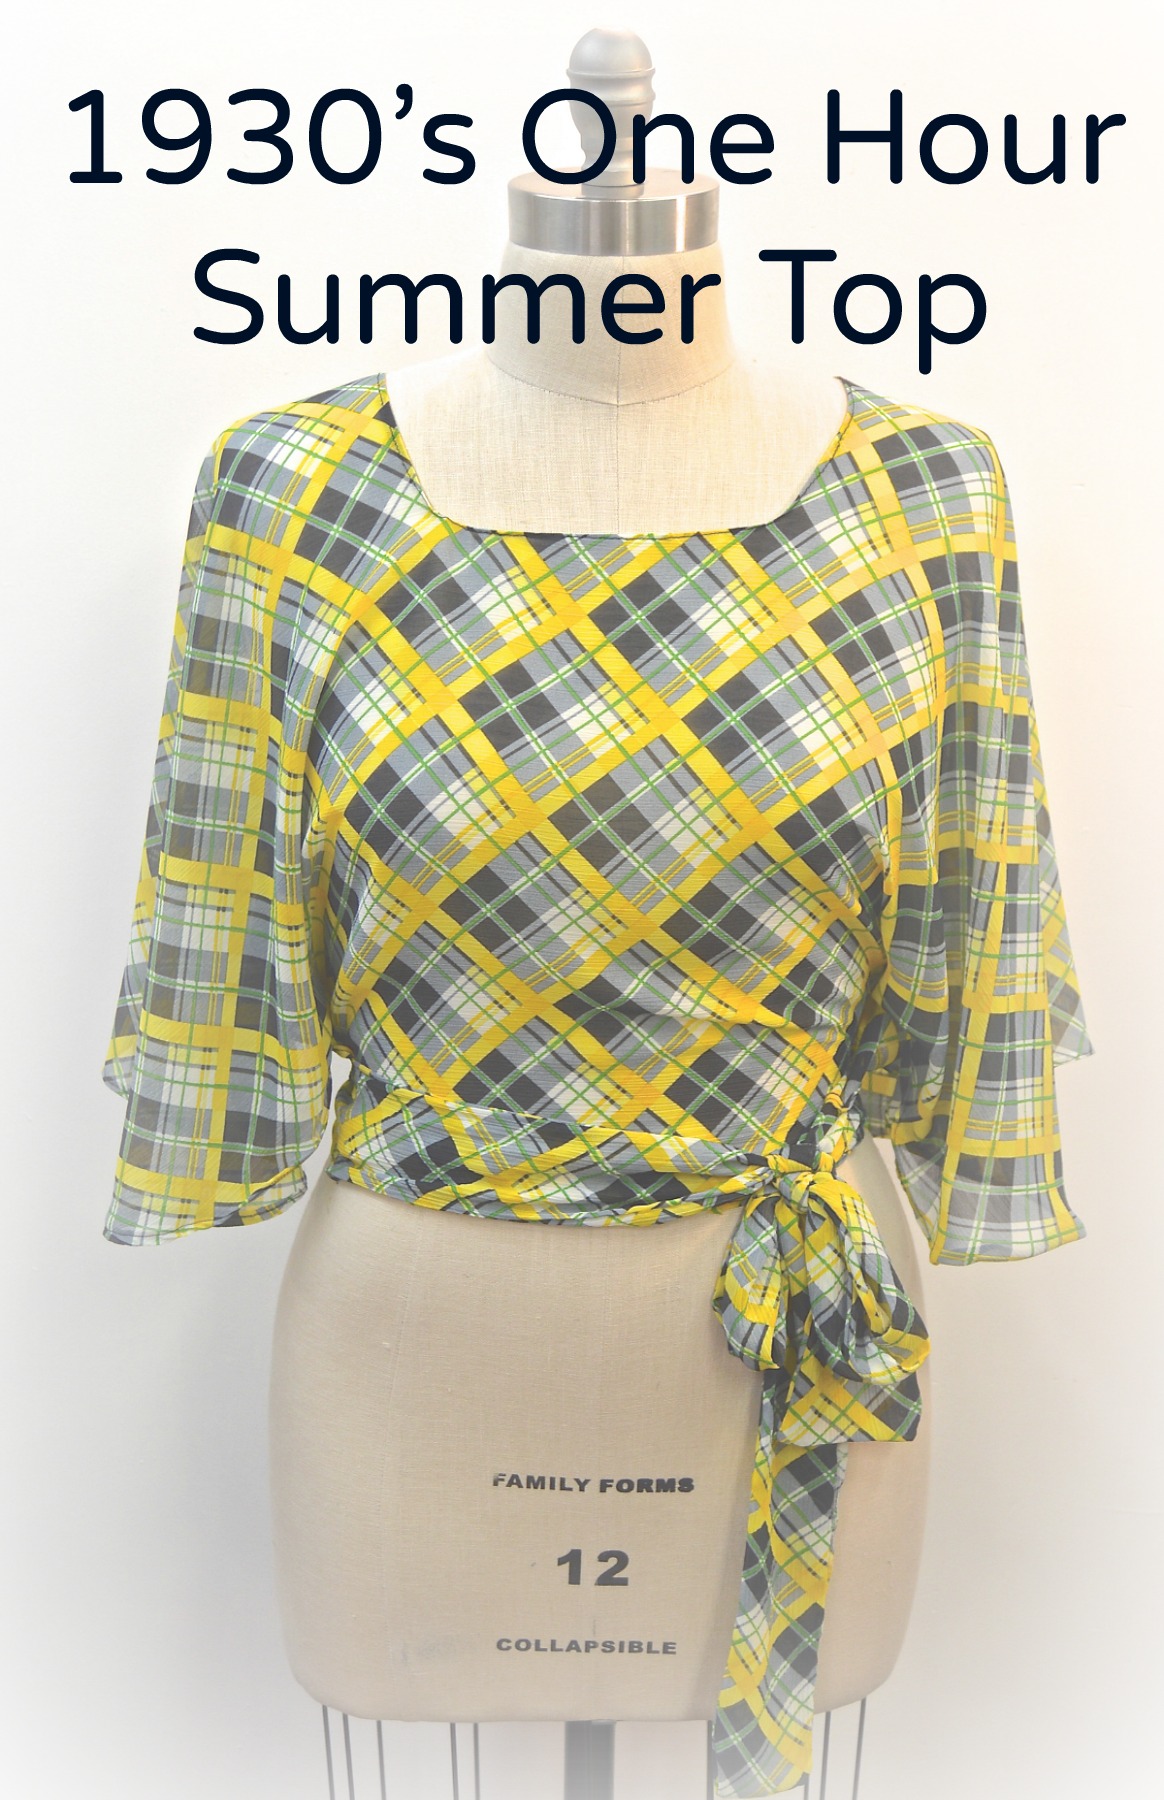
Last year I purchased some fabric in a unique color blend of black, yellow, and light grey.  I had no idea what I wanted to do with it, but since it was such a great price, I, of course, snatched it right up!  Well, it has finally found a purpose with this very easy summer blouse.

This is all one piece, and if you can make a hem, you can make this top!  The most important part of the construction of this blouse is with the shape of the one piece.  While you can technically do any length or width that you would like, make sure you don’t make the neckline too wide…a mistake I made on my first practice round.  I recommend a 9″ x 6″ square opening.

Here is the pattern I created for this design:

Pattern

1930's Summer Top


Materials:
  • 1 1/4 – 1 1/2 yards of fabric
Process:
  1. Hem all raw edges of the top, including the neckline.
  2. Either hem all raw edges of tie, or you can cut out double the amount of ties and stitch them right sides together on three sides, then turn out.
  3. Decide which side will be the front of the top and stitch the shorter of the ties, right sides together, to the bottom of that side.  Repeat with the back of the blouse with the longer ties.
  4. To wear: tie the front ties around the back, then bring the back ties around to the front and tie in a bow.

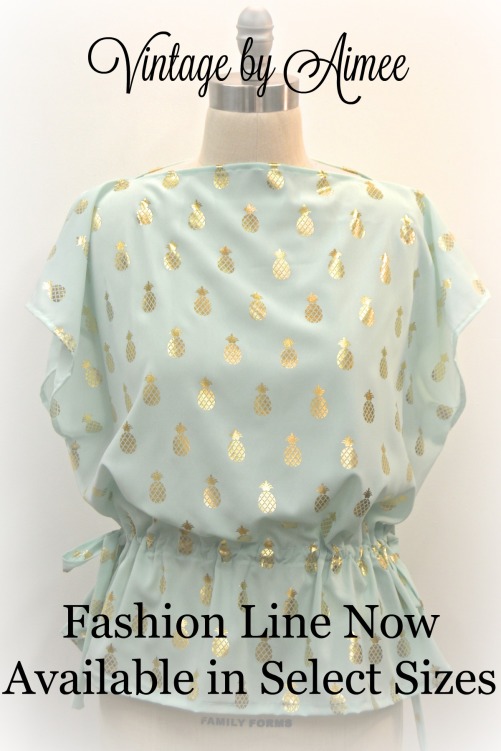
And that is it!  A very easy, comfortable blouse that can be worn with a skirt, flare jeans, or shorts.

Front with ties pulled back

DSC_0079

Tie the ties in a knot…

DSC_0076

….then tuck under the ends.

DSC_0077

Bring back ties around to the front, and tie in a bow.

DSC_0080

DSC_0082

DSC_0084

DSC_0088

Enjoy!

signature

fahsion line

38 thoughts on “1930’s One Hour Summer Top

  1. Pingback: 1930’s Inspired Summer Blouse

  2. Marisol

    I love this top! I try to up-cycle as much as possible, will be looking out for something with sheer fabric to make this out of. Can’t wait to get started, thanks for sharing!!

    Like

  3. Dorothy Fashingbauer

    How deep are the pieces that extend from the circle, in front & in back. I just can’t picture it.
    4/13/18 (or are these extensions the sleeves)
    Thanks
    Dot

    Like

    • Hi! So sorry I didn’t see this earlier. It threw it in my spam. Ummm if I remember correctly mine was 9”….but use your underbust to waist measurement plus seam allowance….that should be enough! Thank You!

      Like

    • Hi! I would recommend to take your own waist measurement and divide it in half then add 2-3 inches for the wrap around. But definitely try it out on a piece of scrap fabric first! As for the next direction I would have the 9” be the portion that goes over your shoulder as the 6” section for the front and back neck section….does that make sense? 😊

      Like

  4. What a beautiful top, and a very easy pattern – thank you for sharing this. The fabric you have used is so flattering and must make this top a delight to wear. I also like the fact that it can expand if necessary! It is what brought me to your blog from Pinterest and what a delightful discovery. Your blog is beautiful – you are a very talented lady.

    Like

  5. Marina

    Hello, how and where did you attach the ties to the front and backside? I have read your directions a few times but don’t see where they have to come. Thanks in advance for an answer. Maybe a drawing makes it more understandable?

    Like

    • Hi! Sorry for the confusion! They go on either end of the square portion of the blouse. Another way to describe it is on the very end of each side of the curved edge. I hope that makes helps! If not send me an email and I can send you a picture of it!☺️

      Like

  6. Mary

    I am late to the party as I am just getting around to try this one…Love the blouse! Should I be concerned about the sizing if I am a bit thick waisted? Are there any adjustments to the circle for this. Thank you! Looking forward to seeing more! Especially 30’s style.

    Like

    • Hi Mary!
      I would suggest cutting out a muslin sample and try enlarging the length and the width of the bottom portion pattern. I would leave the sleeve portion and neckline the same and then try it on and see if changes need to be made or altered before you cut out of your main fabric. The dressform pictured is a size 12 with a 32” waist and 40” bust. Hopefully knowing that can help you figure out how much to add. If you need any help just let me know!!! ☺️☺️

      Like

  7. Yvonne Larson

    I just discovered this cute blouse pattern! Is the round part of the pattern a complete circle with the front and back pieces added to it? Or is the circle compressed a bit with the front and back drawn on the inside of a perfect circle?

    Like

    • Yes to the latter. It is a big circle with the sides being cut in a square/rectangle shape. The circle portions are the sleeves and the rectangle part is the shirt portion that goes about your waist. I hope this helps!!! Tag me on Instagram if you do make it! ☺️☺️☺️

      Like

Leave a comment