I have been an avid home-manicurest for ages! I love having polish on my nails as I feel more put together and, well, polished. I like to think that I have a pretty good routine down and have learned all the tricks of the trade. So while researching for this month’s theme, I came across an article on performing an at-home manicure from a 1940’s magazine. I was quite surprised to learn, that even though I take great care of my hands, I was neglecting proper care of my nails. While I have to say this process takes about 45 minutes, the quality of the manicure is greatly improved from my normal routine of 15 minutes and the polish lasts a bit longer.
The article itself featured black and white drawing that were very difficult to see, so I have created a visual of my own adventure but with the actual text from the magazine. Enjoy!
1. Begin by laying out implements
You will need file, emery, orange stick, cotton, bowl of suds, oil, nail white, cuticle softener, nippers or scissors, buffer, polish and remover, clear sealing coat, towel, and facial tissues. Don’t work on your lap, a spill or seeping from remover-soaked cotton may ruin your clothes. Besides, you cannot brace your hands properly. (I work on an old book)
2. First remove old polish.
Moisten a piece of cotton with remover. Don’t make it soaking wet, just dampen it. Hold it on the nail a few moments until the polish softens. Then rub from the base of the nail to the top. Do it neatly, so that you don’t get old polish all over your fingers. Never scrape off vestiges of old polish with metal file. Instead, take them off with an orange stitck you have dipped in remover.
3. Next, shape the nails.
If your nails are strong or need to be shortened, use a metal file. If they are fragile or need only smoothing, use an emery board. Hold the file slightly under the nail at an oblique angle. This is important. Stroke from the side over the center. Don’t move the hand you are working on. Move the file. Round nails to round-based ovals, not to points.
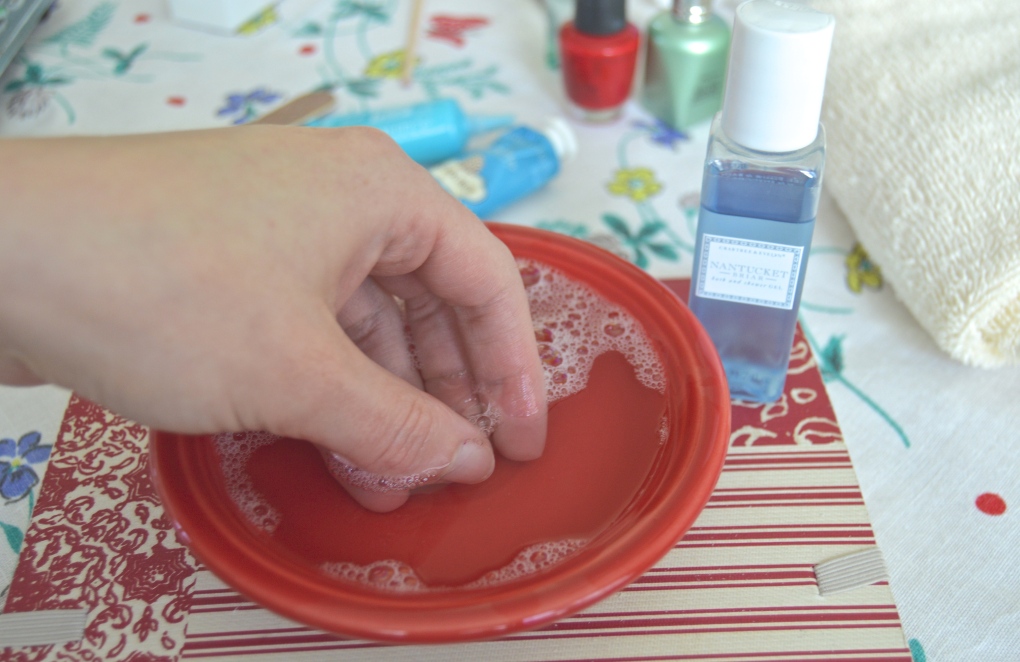
4. Then, soften the cuticle.
Soak in warm suds. It is a major mistake, made by most women, to neglect this step – a mistake that results in an unkempt cuticle. (This step added to the overall smoothness of the polish and longevity too.)
Dry and apply cuticle remover. Never use a bulky swab for these jobs. Do this. Moisten an orange stick and roll it lightly over cotton to pick up this semitransparent film.
5. And push back the cuticle.
Hold the pusher, or cotton-tipped stick flat on the nail and push towards the base. Work steadily by lightly. Hard pressure or digging may unjust both nail and cuticle.
(I forgot to mention that it never hurts to have a skinny Caramel Frappucino while you do your nails. 😉 )
Now, scrub the nail with a brush and soapy water, rinse in clear water and dry. Rub with the towel to dislodge any clinging particles of dead cuticle left on the nail.
6. Now shape the cuticle.
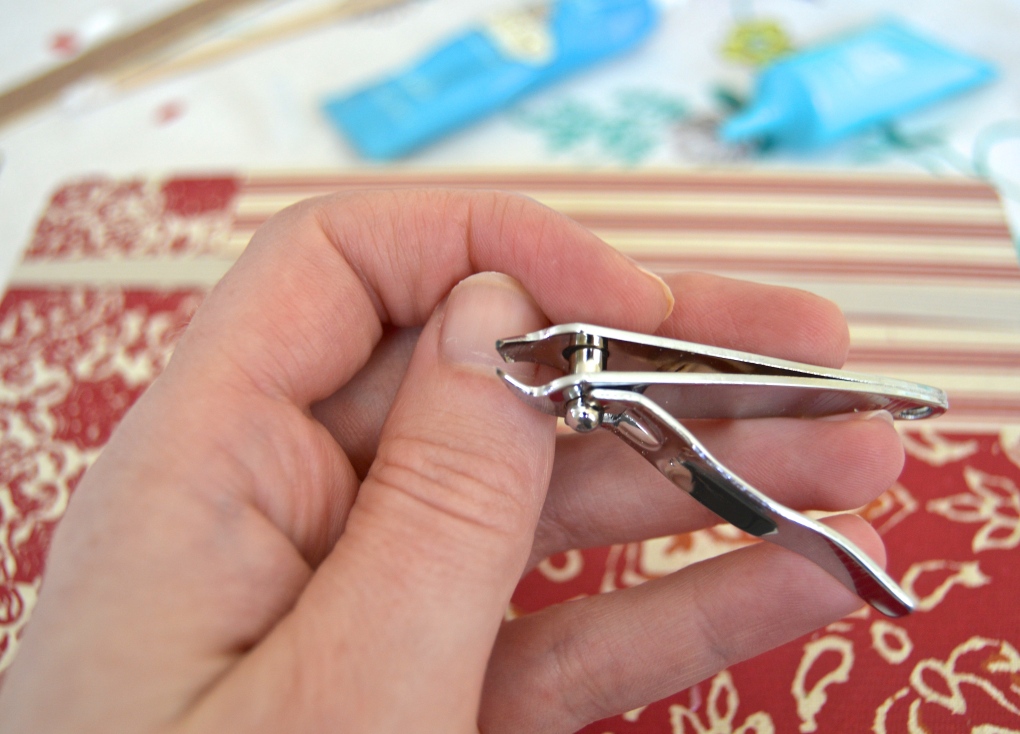
Manicurist advise as little cutting as possible; but if the cuticle is heavy or uneven, trim it with manicure scissors or nippers. Never cut deeply. Nails need this delicate frame.
7. Always buff the nails.
This is a step most women neglect, and it is a most helpful one. It planes the nails slightly, so that they do not split so readily, and it leaves a dry smooth surface for polish. Buff lengthwise from base to tip ins tread of crosswise as most people do. This polishes and smooths the entire nail, not just the center.
8. Finally apply polish.
Brace the working hand, lay the other flat, and use a medium-full brush. Too much polish will run to the sides; to little will streak. Learn to make three deft strokes: One, around the moon and up one side. Two, over the center. Three, cover the other side. With the cushion of the thumb, take off a thin line of polish at the edge of nail.
IMPORTANT: There are apparently ways that one should paint their nails based on nail bed shape. Look at the accompanying diagram to find your particular one and make sure to polish accordingly! I apparently have spatulate shaped nails.
Take some personal time to give yourself a truly luxurious and vintage manicure. I guarantee you will feel 100 times better for it!
~Aimee
Source: Good Housekeeping: Volume 115, Number 2, August 1942


Pingback: A 2015 Year End Reflection | Inside Aimee's Victorian Armoire
Pingback: A Look Back at My Favorite Posts | Aimee's Victorian Armoire